Macaron Secrets

SONY DSC

Alternative title: Lessons Learned the Hard Way.

  1. Crack your own eggs (even if it says “100% Egg Whites”).
  2. Use non-stick spray on your Silpat. Or better yet, don’t use a Sipat. The more irregular the cookies, the funner pairing them is. (That’s right. Funner.)
  3. Take breaks, or caffeinate. Or? Bah. AND caffeinate. This is a marathon, not a sprint.
  4. Experiment. Your coffee icing is too liquidy? Your chocolate ganache is too stiff? Make a moat of one and a pond of the other. It might work. Depends on which one you choose to make the moat.
  5. Re-experiment. That coffee icing was bad. Know when to let go. I’ve moved on; so should you. Try this one: 1/4 marscapone, 1 tbsp coffee, maybe some cinnamon.
  6. Did I say take breaks? Take more. You deserve it. Oh, and you deserve another macaron. Naturally.
  7. Bonus note: package with care. Maybe tissue paper? I haven’t quite nailed that one yet.

Pear Ginger Muffins

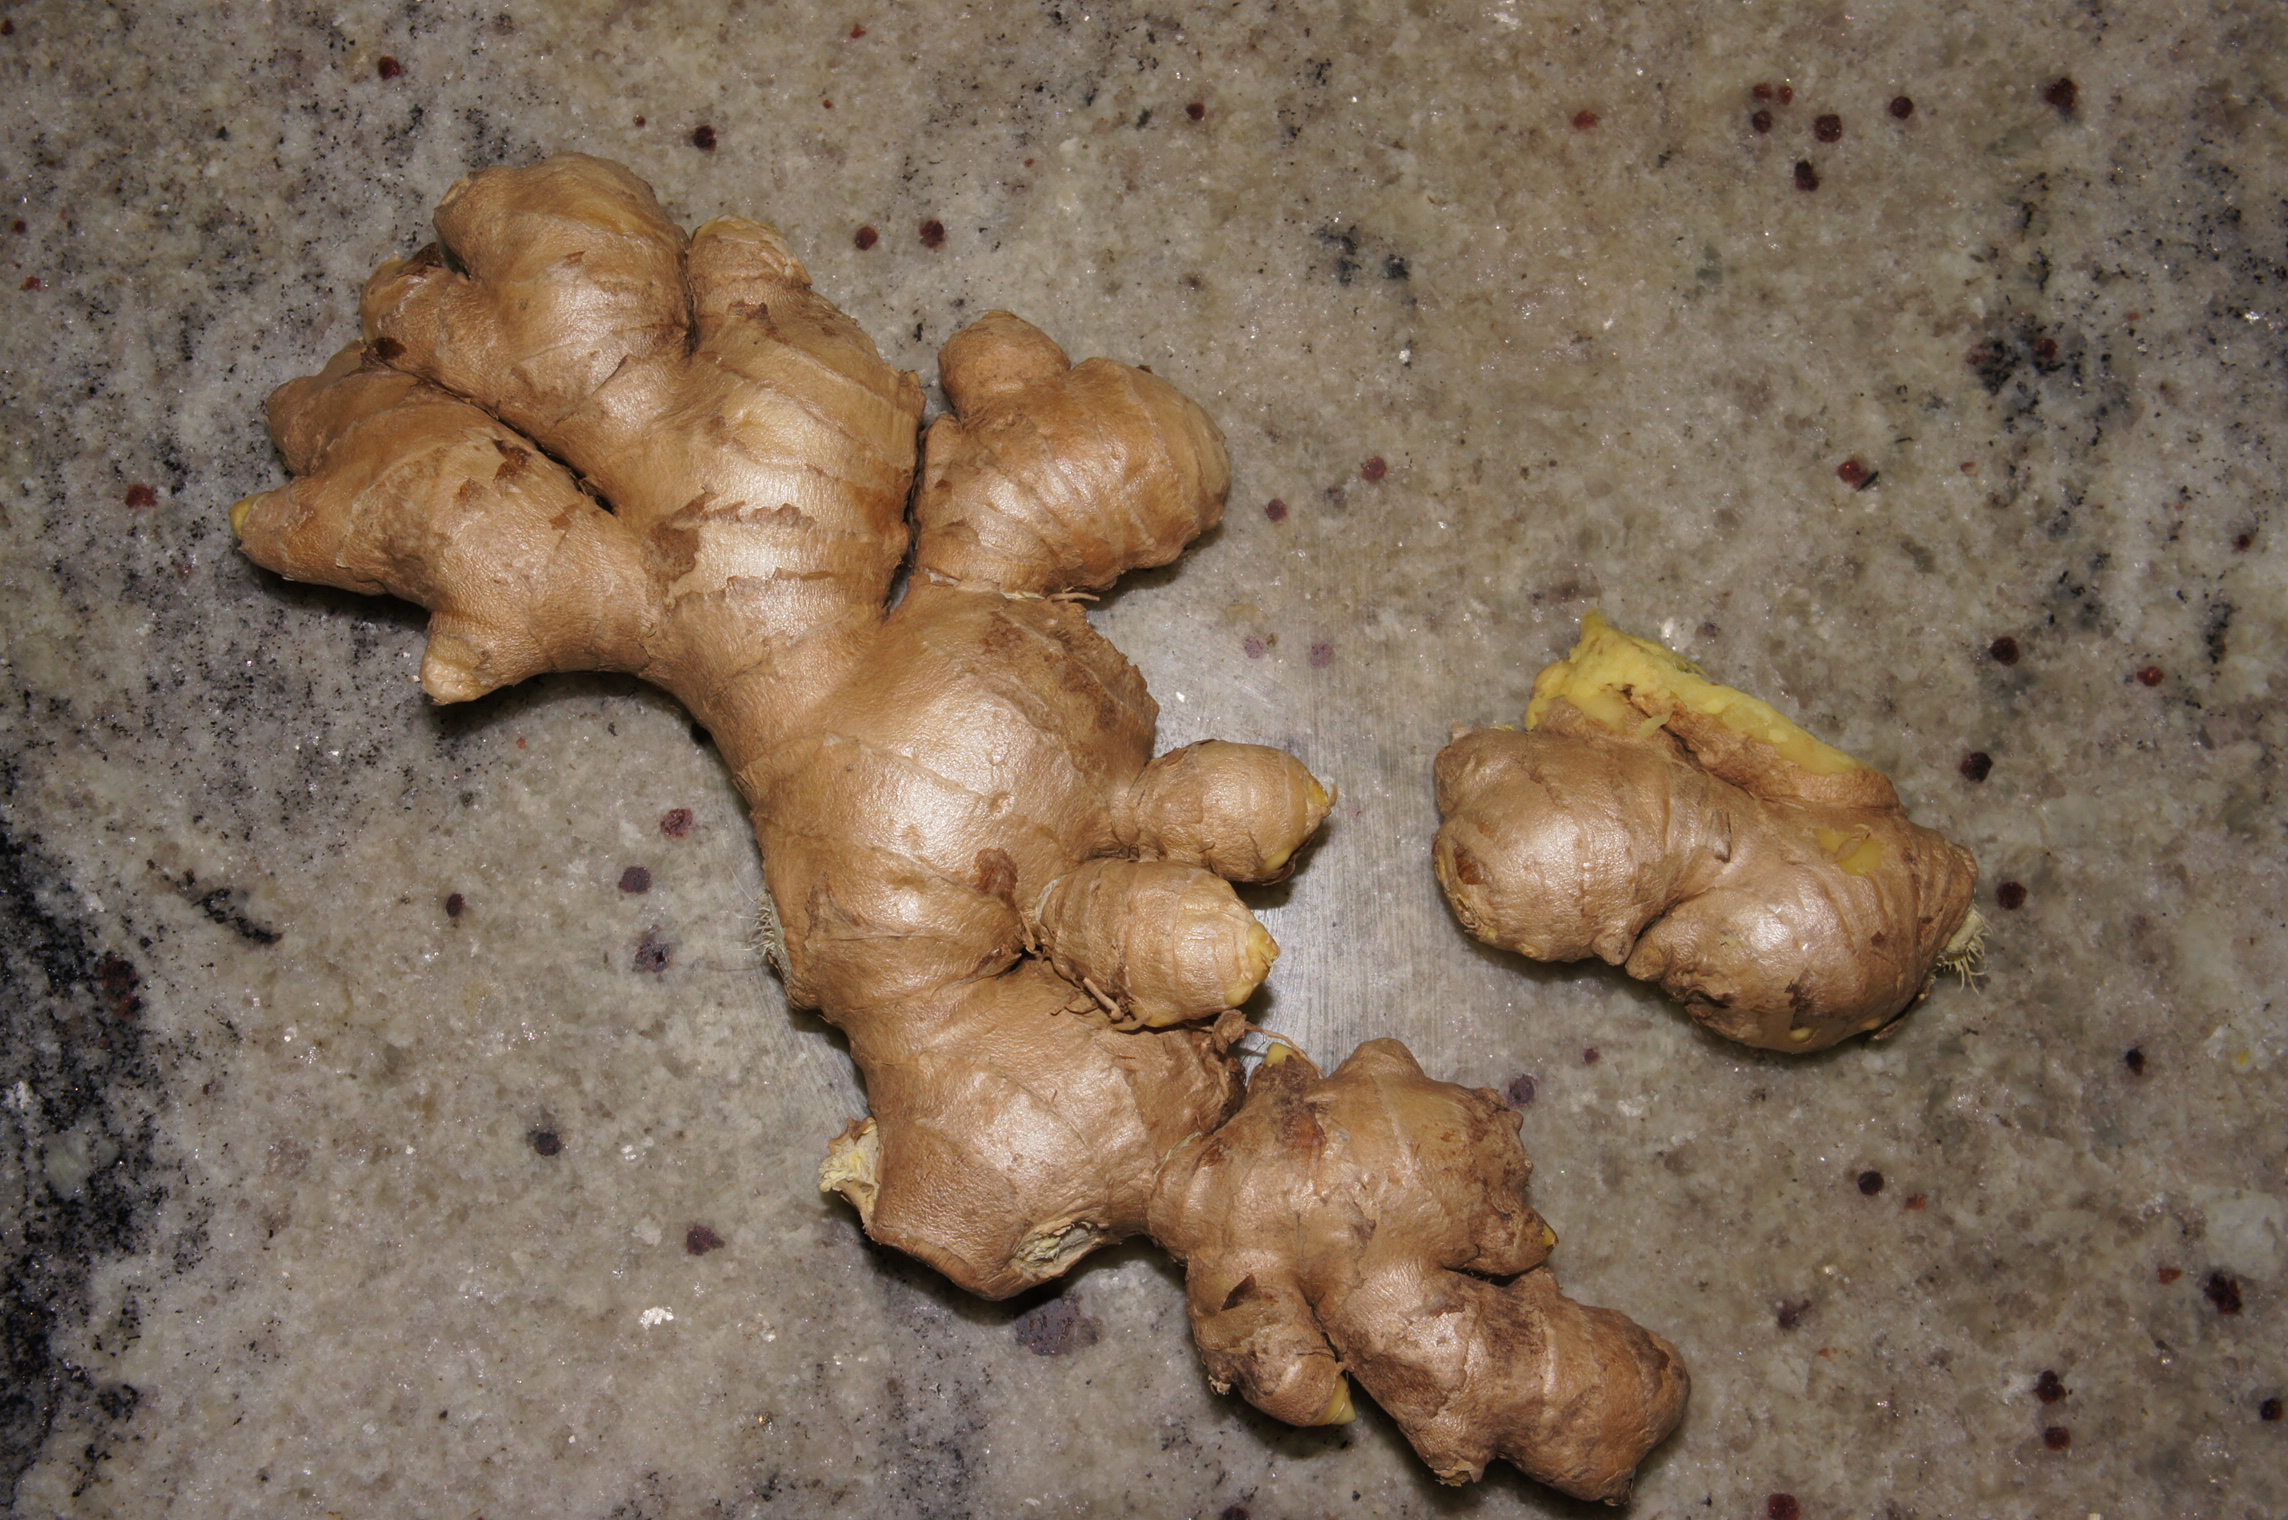
Ginger ginger ginger ginger … GINGER! I am a not-so-secret fan of ginger. So when my coworker said she wanted to make muffins, I bought a ton of ginger. (Not exactly a literal use of ‘ton’, but … close.)
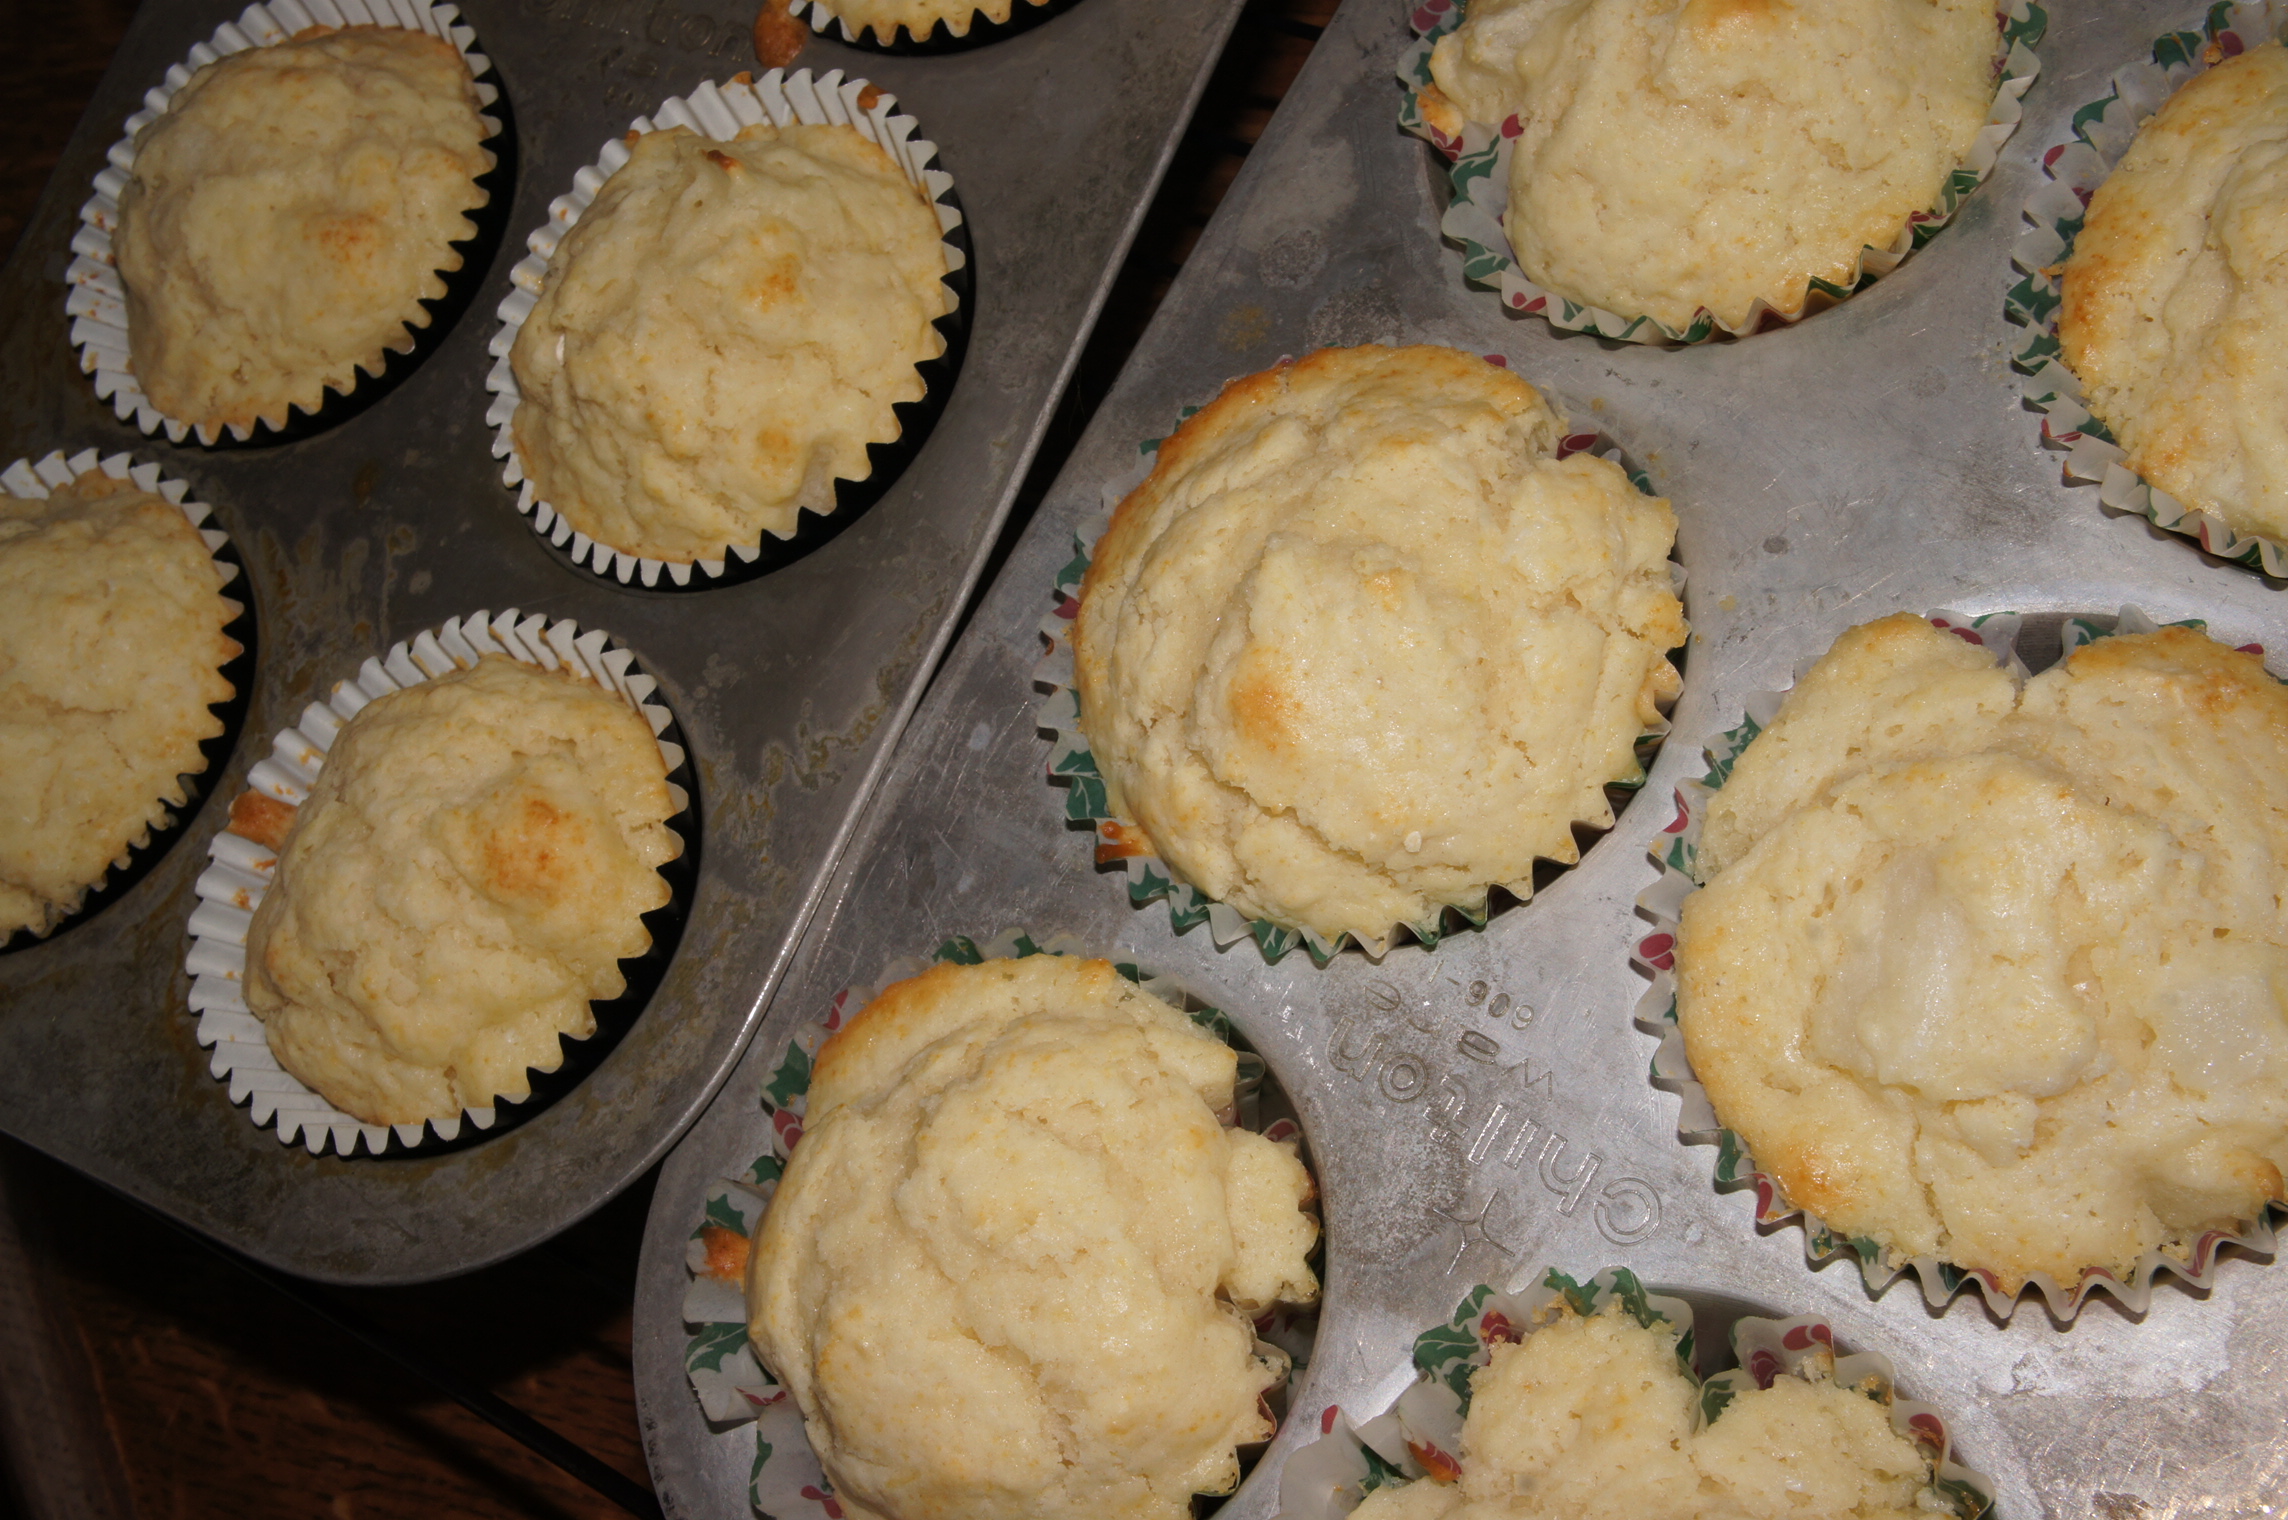
SONY DSCI made a simple test batch to see what tastes best with ginger: apples, pears, or more ginger. Adri was kind enough to research with me (read: eat four) and there was definitely a clear winner: Pears!

SONY DSCSONY DSCI bought four different kinds of pears, but I only used two. No special reason. I thought I’d find great “baking” pears the way certain apples taste better in a pie, but I ended up thinking … these taste fine, so they win! (I’m all about winning today.)

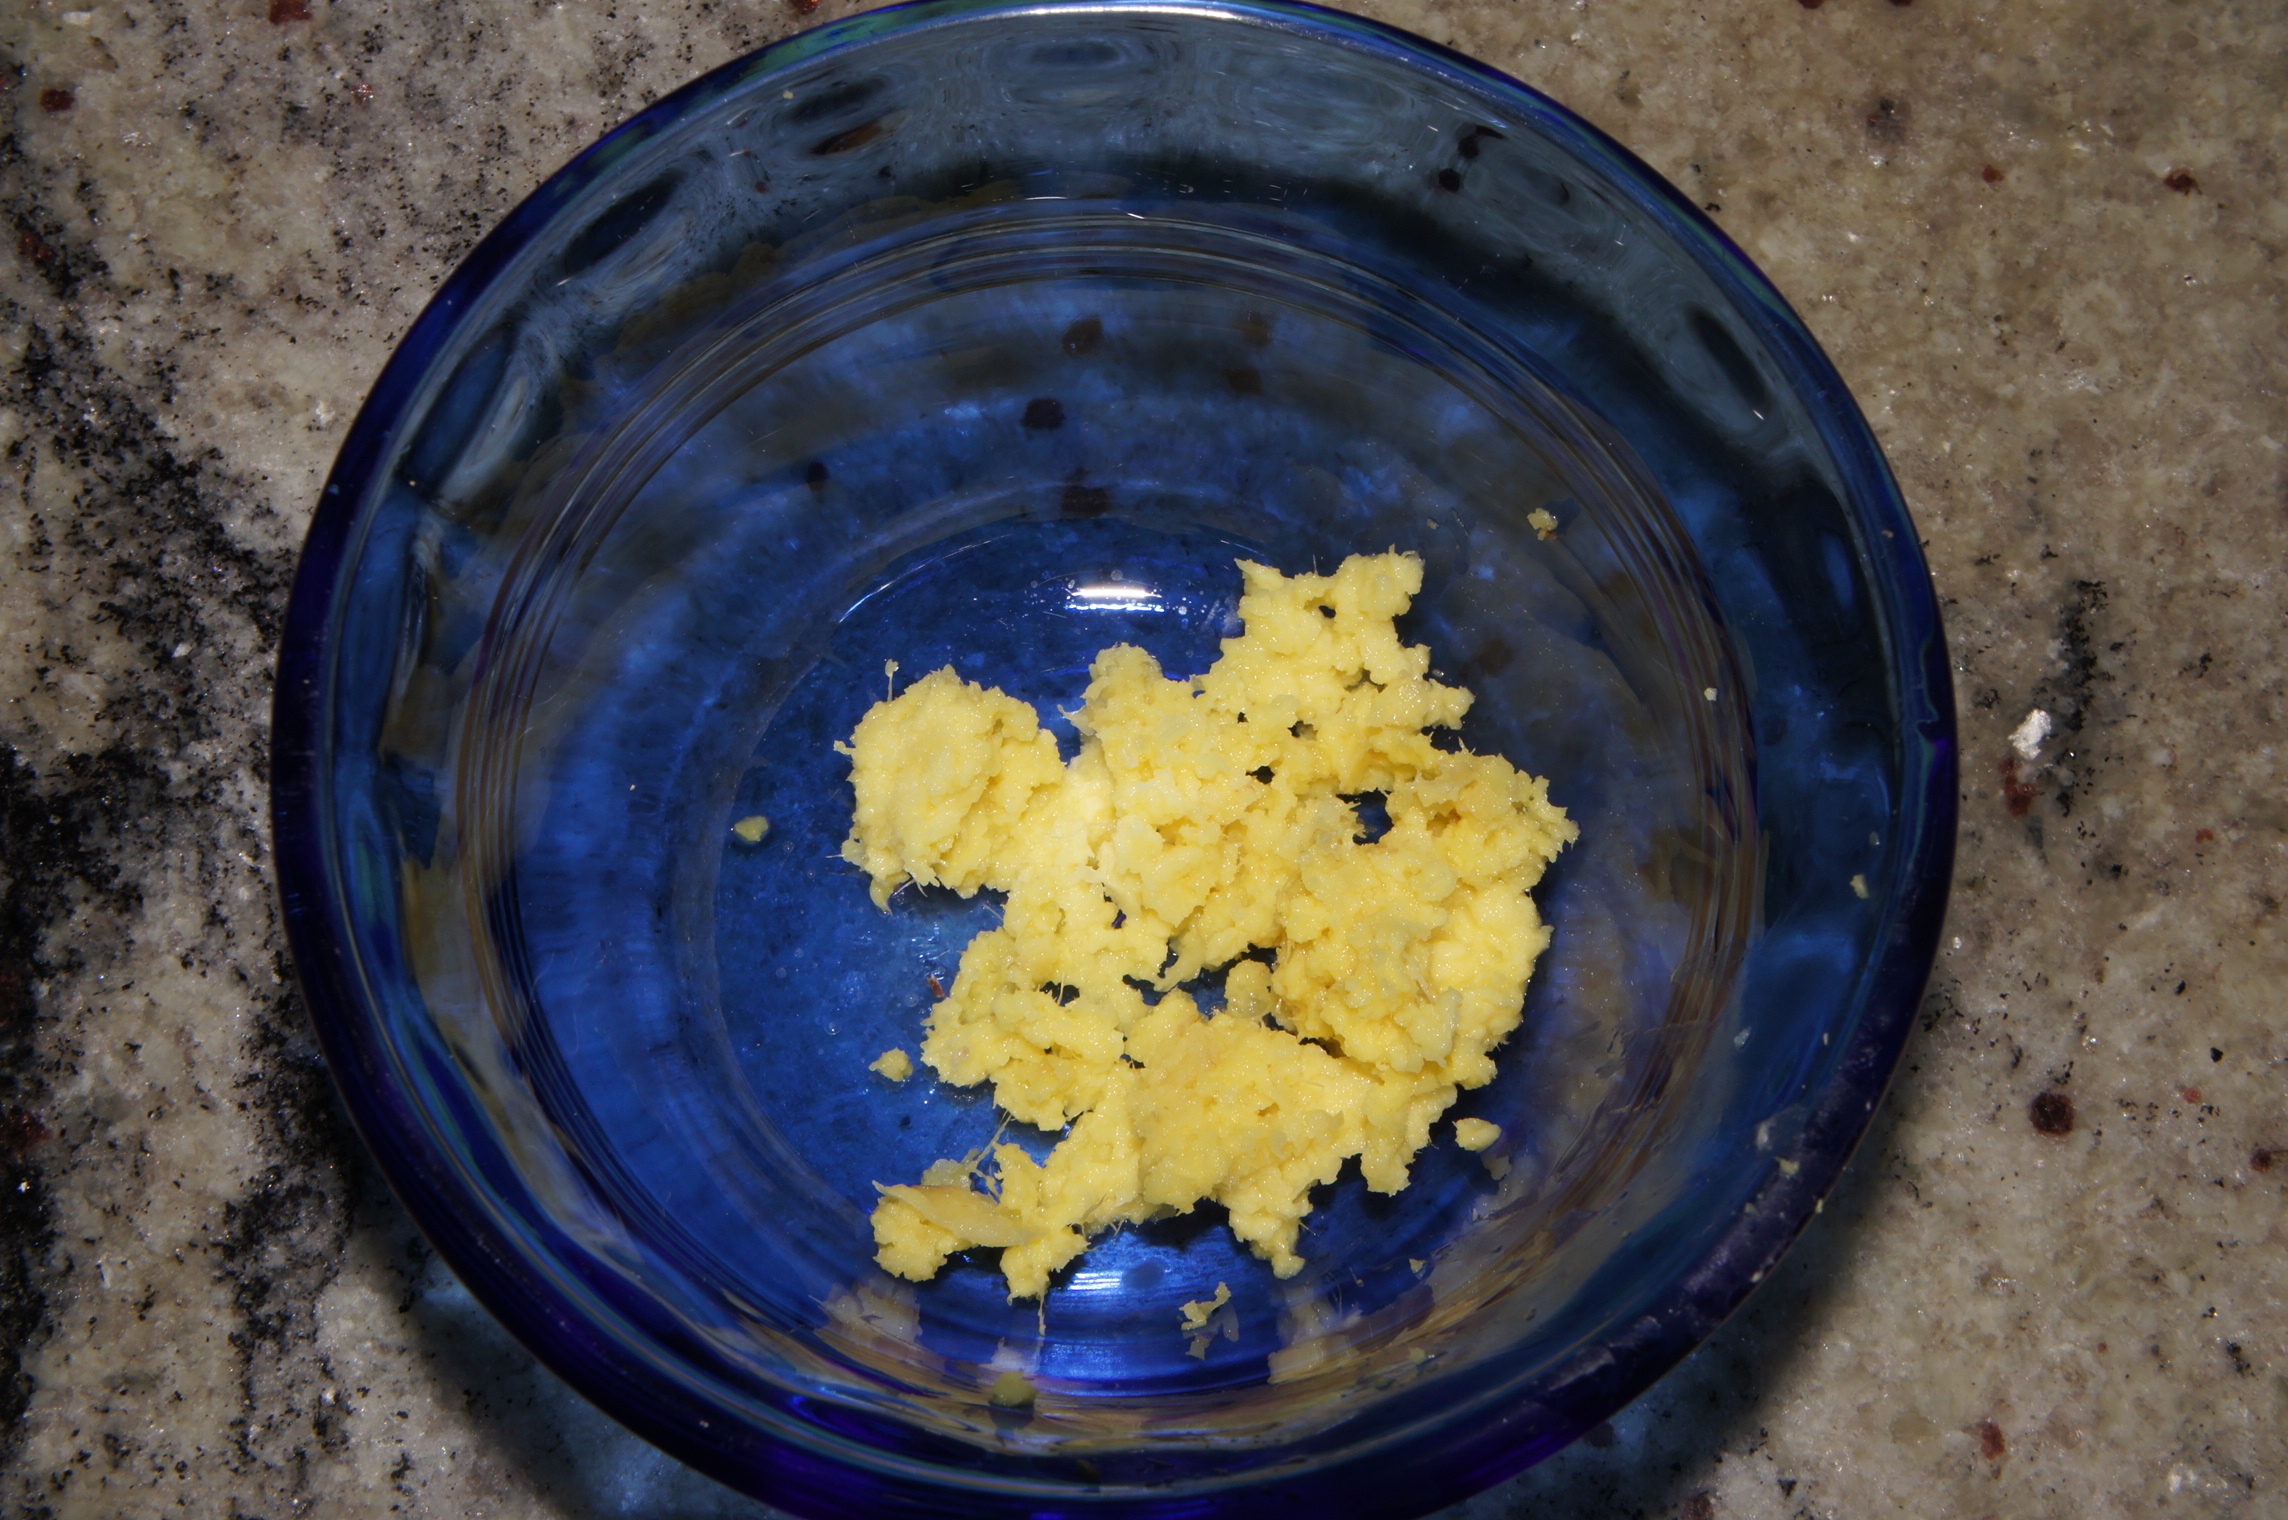
SONY DSCSo this business is easy. Cut up some apples, grate some ginger (I use a microplane grater), the work is basically done.

SONY DSCYou do, of course, have to put the batter in the muffin tin. Luckily, a much neater process than cupcakes.

SONY DSC SONY DSCAnd they’re done!

SONY DSCPear Ginger Muffins
Makes about 14; Prep Time: 15 minutes; Bake Time: 20 minutes

Ingredients
Muffins:
1 3/4 cups flour
1/2 cup sugar
2 tsp baking powder
1/4 tsp salt
1 egg, beaten
3/4 cup milk
1/4 cup vegetable oilSONY DSC
1 tbsp fresh ginger, grated
1 big pear, pealed and diced

The glaze:
1/4 cup lemon juice
1/4 cup sugar

Ginger sugar:
1 tsp fresh ginger, grated
1/2 cup sugar

Directions
Preheat oven to 400 degrees

Line muffin tin with paper cups. And, while you’re at it, might as well grease them too. There is no such thing as too cautious.

Combine flour, sugar, baking powder and salt. Then make a well in the center. I don’t know why you’re supposed to do this but I always think it’s kind of fun. **Update: maybe this is done to prevent wet ingredients from ‘running’ away and encouraging you to overmix … maybe not.

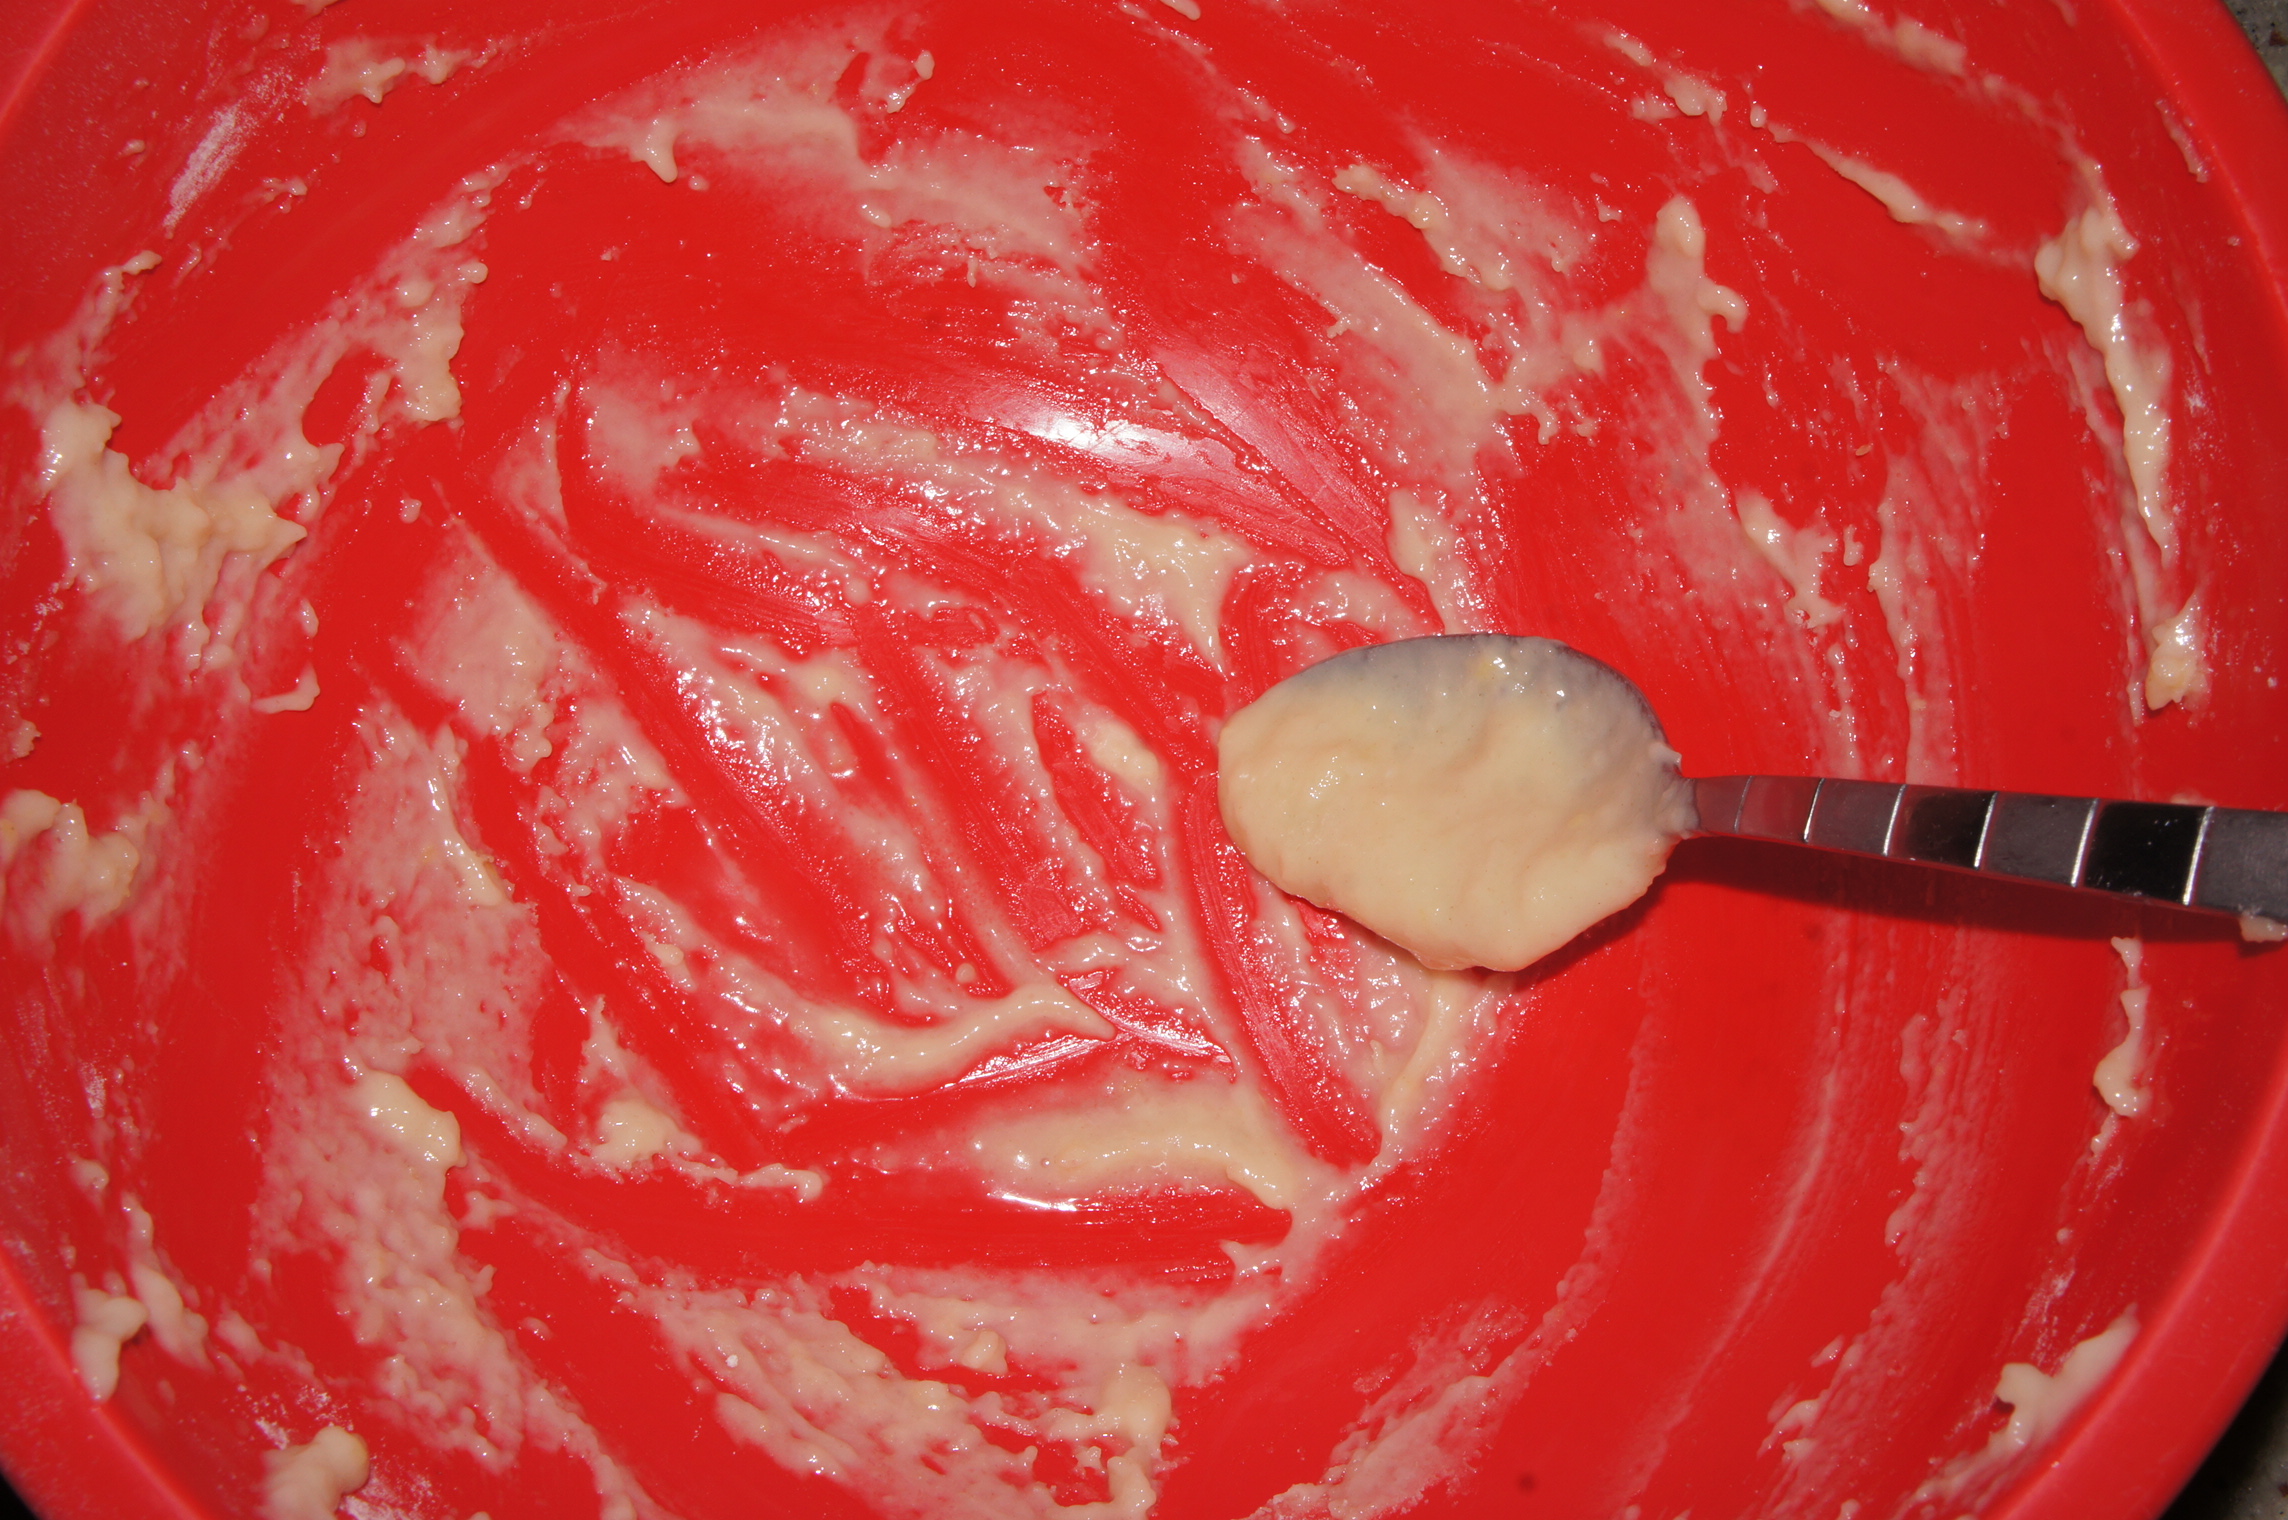
In another bowl combine beaten egg, milk and oil. Mix in ginger and pear bits. Pour into well. Mix ingredients together until just wet. It’ll be all lumpy.

Fill muffin cups about 2/3 full and bake for 18-20 minutes.

While muffins are baking, make your glaze (mix lemon juice and sugar in a small saucepan over medium heat until sugar dissolves) and your sugar topping (mix grated ginger and sugar).

After baked muffins have cooled about 5 minutes, dip them in the glaze, then into the sugar mixture. Hope you enjoy them!

SONY DSCOh! And, these are our kitchen flowers.

SONY DSC

I just finished the book, The Language of Flowers, and I loved it. I felt about this book the way I felt of Emily of New Moon when I was 12. It was just … comforting. I learned that alstroemerias mean devotion and Gerber daises mean cheerfulness (obviously). What do purple and orange mean? AUTUMN! It’s still autumn, so go back snow! You’re exciting, but untimely.

Alright people. I missed you. Have a lovely week!

Baking Music: Podcast Snap Judgement

Battenburg Cake

SONY DSC

I made a Battenburg cake! A “super simple” checkerboard cake held together with jam and wrapped in marzipan. It’s supposed to be a light, tea cake. It’s not super simple, but it’s not that bad. Not that this was a roaring success. Let’s see where I went wrong …

SONY DSC

Starting off good. Made a seam. I’m pretty awesome.

SONY DSC

Gettin’ kind of annoying because EVERYTHING has to be measured. (Mmm, but not the egg shells. The scale became a garbage holder later on in the process.)

SONY DSC

First problem: I didn’t soften the butter enough. (Stupid lumps.)

Second problem: The almonds weren’t ground fine enough. (Stupid almond lumps.)

It’s going to be okay. I have the faith!

SONY DSCGo cakes GO!

SONY DSCRed is winning!

SONY DSCAll trimmed up and nowhere to go.

SONY DSCIs it just me, or does this picture of apricot jam look kind of romantic?

SONY DSCHa! Distance changed that.

SONY DSCThe most fun of the whole process was straining the jam. The directions were literally ‘push the jam through the strainer’. Done.

Rolling out the marzipan wasn’t nearly as fun.

SONY DSCIn fact, it caused a bit of a cake fail. No amount of “pressing together the edges” made this guy pretty.

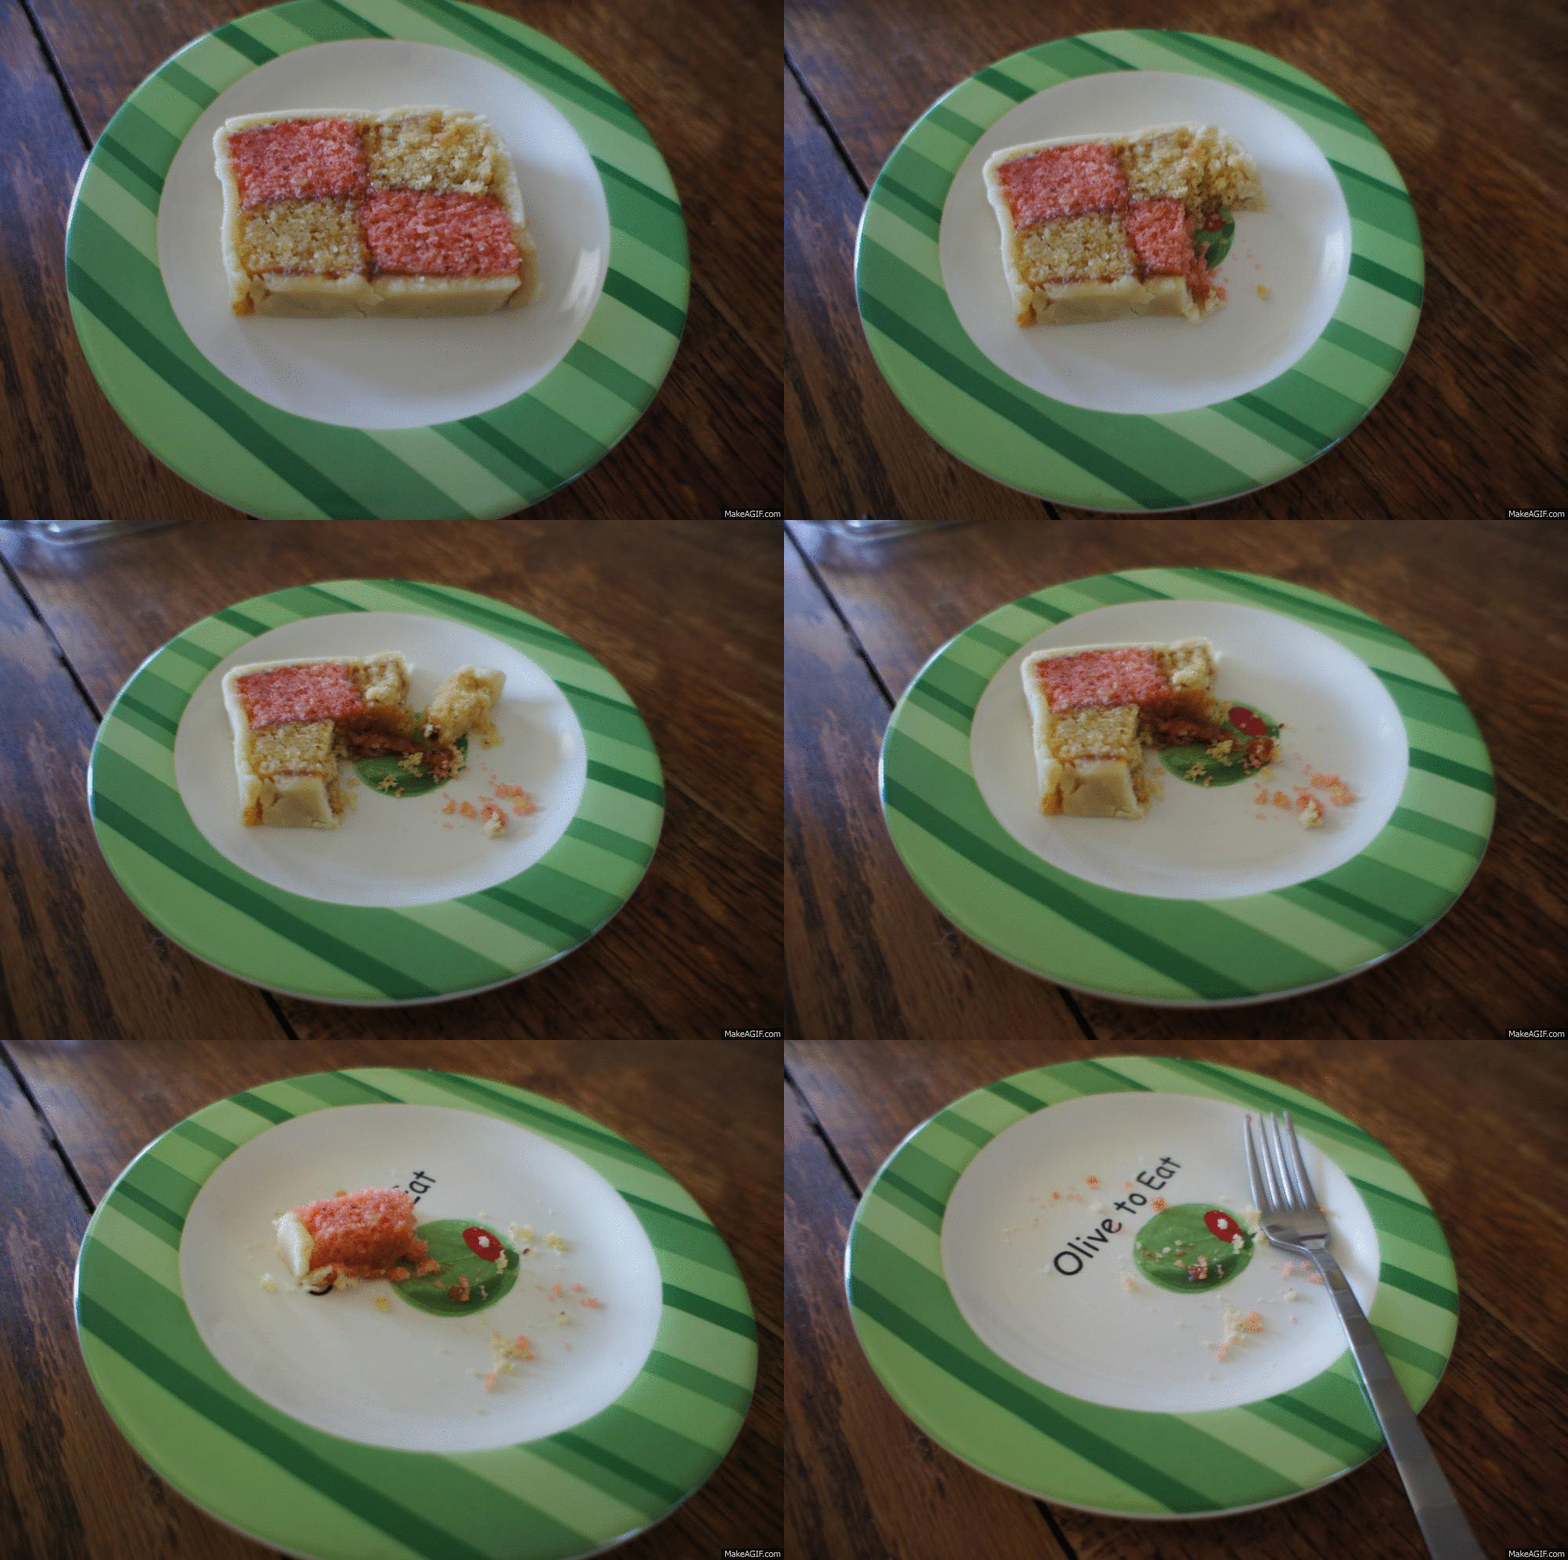
SONY DSCBut my kind friends ate it anyway.

battenburg cake on Make A Gifmake animated gifs like this at MakeAGif

This wasn’t quite as easy as it sounded, but with some practice it might be. The first time was a definite pain. I think I’d make this cake again and again. I’m pretty sure it’ll get easier with practice. (Pie crusts were, why wouldn’t marzipan?) Next time I’ll try it with lemon and lime squares!

Battenburg Cake

Prep Time: 1 1/2 hours ; Bake Time: 25 minutes

Ingredients

For the cake:
6 oz softened butter, plus extra to grease the pan
6 oz superfine sugar (I used light brown sugar)
3 medium eggs
5 oz self-raising flour
1.7 oz ground almonds (I thought it was a little funny to write 1.7 oz. There are supposed to be 50 grams ground almonds.)
1/2 tsp vanilla extract
1/4 tsp almond extract
red food coloring

To hold the cake together:
10 tbsp apricot jam

For the covering:
1 lb & 2 oz ready-made marzipan (almond paste)
2 – 3 tbsp powered sugar, for rolling

Directions

Getting things ready:

Preheat the oven to 375 degrees.

Grease 8 inch square pan with butter.

Take a 12in x 8in strip of parchment paper and make a 3in fold in the center. This creates the division you need to cook the different color sponge cakes at the same time. Line your pan with the parchment paper.

Now to the fun part:

Mix the butter, sugar, eggs, flour, ground almonds, and vanilla & almond extracts in a mixer until well combined.

Separate 1/2 the batter and color it red. (Since you want the same amount of each color, you can weigh the batter to get a more exact measurement. I did, but red still won.)

Spoon each 1/2 of the batter into its own side of your 8 inch pan.

Bake in the center of your oven for about 25 minutes, or until the sponges have risen. Cool in the tin for five minutes, then slide a knife around the outside of each sponge and turn them out onto a wire rack. If the sponges have risen unevenly, press the surface gently until level. Leave until completely cold.

Putting it together:

To assemble the cake, first place one sponge on top of the other and trim off the crusty edges so they are both the same size. Cut the sponges in half lengthways to make four long rectangles.

Warm the apricot jam in a saucepan then press through a fine sieve.

Brush the long side of one of the sponges with jam and sandwich together with a sponge of a contrasting color. Do the same with the other two sponges.

Sandwich the two pairs of sponges together like a checker board and brush the top and sides with jam.

Now the covering (a.k.a. the less fun part):

Place the marzipan on a surface dusted with powdered sugar and roll into a rectangle of about 40cm x 20cm (or 16in x 10in); it should be large enough to wrap the cake completely, leaving the ends exposed, and be about 5mm (or ¼in) thick.

Turn the cake upside down on the marzipan and brush the underside of the sponges with jam.

Wrap the marzipan around the cake, pressing it gently onto the surface of the sponges, and press the edges together to make a firm join.

Turn back over with the seam underneath, trim a thin slice off each end and place on a serving plate.

Adapted from BBC Good Food and BBC Food Recipes.

Baking Music: Be Okay by Oh Honey

Kiwi Sorbet

SONY DSC

After my last, failed attempt at using the ice cream maker I’ve been super impatient to try it again. I bought three containers of Morton’s salt. (I would not be caught, again, without enough salt!) Then I was told that I couldn’t use table salt. It had to be rock salt. What? WHAT?! I just bought, like, 7 years worth of table salt. What the heck!

SONY DSC

Despite being informed that this wouldn’t work, I couldn’t help singing this the whole time … You’re gonna be sor-bet. (Really, I was singing you’re gonna be ice cream … is it cold, smooth and sweet? It’s ice cream. Duh.)

Except for my impatience, this was really quite easy.

SONY DSC

Boil the honey, sugar and water into a simple syrup and then put it in the fridge to cool.

SONY DSC

Halve the kiwi and then use a spoon to scoop them out.

SONY DSCPuree the cold syrup, lime juice and kiwi.

SONY DSC

So it looks like this

SONY DSCPut mix into an ice cream maker and mix forEVER.

SONY DSCYou can eat it right away, but it’s still a tad runny. Freeze it over night to get it nice and sorbet-y.

SONY DSC

Bon appétit!

Kiwi Sorbet
(from Week of Meals)
Makes about 1 quart

Ingredients

¼ cup sugar
¼ cup water
¼ cup honey
5 cups of peeled and cut kiwi
Juice of 1 lime

Directions

In a heavy saucepan add sugar, water and honey. Over medium heat bring to a boil, dissolving the sugar and honey. Remove from heat. Refrigerate until syrup is cool. (I put it in the freezer for a bit ’cause I’m impatient.)

With a blender or immersion blender, blend together cool syrup, kiwi and lime juice. Pour contents into ice cream maker and turn on for 25 to 30 minutes, until mixture is stiff and bunching into the blades.

But wait! Cause then this happened:

SONY DSC

Kiwi-lime gin and tonic! It was much better the second time around when I added less sorbet which gave it time to melt into (and cool down) the drink. Woot!

Sorbet-ing Music: Where the Wind Blows by Coco O.

Candied Pecans

SONY DSC

Last week was my dad’s birthday – Happy Birthday, dad! Every occasion he says the same thing, “I don’t need anything.” Usually I’ll get him a book of some sort. I spend lunch hours sitting in books stores reading random sections of history texts (set between 1850 and 1950), trying to find something a little more readable than your standard history text. But dad’s been cleaning out his book shelves lately. While he’s giving away every book in sight, I figured it’d be annoying to get more. All that is to say, dad got candy for this birthday!

SONY DSCApparently candied pecans are super easy. Pecans covered with egg whites on the left, cinnamon-sugar on the right. Mix together in a zip-lock bag. (Preferably, one without a hole in it. Bet you wish I got a picture of the cinnamon-sugar mess all over my floor. 🙂 Me too.)

SONY DSC

Put pecans on a parchment-lined baking sheet (protect yo’ self! … and yo’ cookie sheet). They will look like this forEVER. But eventually they look like this …

SONY DSC

Good job oven!

And once they’re all safely stored in their air-tight container the extent of the mess is this …    SONY DSC(Unless, of course, you had a hole in your zip-lock bag.) Easy to clean and it’s just a little bit tempting to snack on the sugary mess left behind.

SONY DSC


Cinnamon-Sugar Candied Pecan
(recipe from Brown Eyed Baker)
Prep Time: 5 minutes; Bake Time: 1 hour

Ingredients

1 cup granulated sugar
2 teaspoons ground cinnamon
1 teaspoon salt
2 egg whites
2 tablespoons water
½ teaspoon vanilla extract
1 pound pecan halves

Directions

Preheat oven to 250 degrees. Line a baking sheet with parchment paper (protect your baking sheet!); set aside.

In a large zip-top bag, combine the sugar, cinnamon and salt; set aside.

In a large bowl, whisk together the egg whites, water and vanilla extract. Add the pecans to the bowl and stir them into the egg white mixture, making sure they are all covered. Using a slotted spoon, remove the pecans from the egg white mixture and drop them into the bag with the cinnamon-sugar mixture. Once all of the pecans are added, seal the bag, and shake it to coat all of the pecans.

Using a clean slotted spoon, remove the pecans from the bag and place onto the prepared baking sheet in a single layer. Bake for 1 hour, stirring them every 15 minutes. Remove from the oven and cool to room temperature. The pecans can be stored in an airtight container at room temperature for up to 2 weeks.

Baking Podcast: This American Life

Orange Ginger Scones

SONY DSC

Happy July everyone! I hope your holidays were fun. Mine marked the end of a particularly busy season at work so I’m super excited to be baking and posting again. The first thing I wanted to try? Orange ginger scones.

SONY DSC

There is a new coffee shop near work. (Which is very exciting for our little office. Somewhere new!) They made a citrus ginger scone last week that was delicious. And, being the clever little shop they are, they didn’t offer it again the next day! Naturally, I had to make my own.

SONY DSC

Scones taste so much better than they look. They are light, but rich, and when you stuff them full of bits of candied ginger and orange zesty-ness, they are not to be missed.

SONY DSC

What’s more, scones are SO easy to make. They practically fall together because you barely mix them at all. You should definitely try them. I hope you enjoy. Bon Appétit!

Ingredients SONY DSC
This recipe is adapted from The Best New Recipe‘s Cream Scones with Currants.

2 cups all-purpose flour
1 tablespoon baking powder
3 tablespoons sugar
1/2 teaspoon salt
5 tablespoons cold unsalted butter, cut into 1/4-inch cubes
1/2 cup candied ginger
2 teaspoons orange zest
1 cup heavy cream, separated
1 tablespoon orange juice

Instructions

Adjust an oven rack to the middle position and preheat oven to 425 degrees.

Whisk flour, baking powder, sugar and salt in a large bowl.

Use a pastry cutter, two knives or your fingers to quickly cut in the butter until the mixture resembles coarse meal with a few slightly larger butter lumps. Add the ginger and orange zest.

From the cup of heavy cream, take a tablespoon and put it aside for later. Stir in the rest of the cream and the orange juice with a fork until the dough begins to form, about 30 seconds.

Transfer the dough and all dry flour bits to a countertop and knead the dough by hand just until it comes together into a rough, slightly sticky ball, 5 to 10 seconds. Form dough into a flat, 8-inch circle. Brush the dough with the remaining cream and sprinkle with granulated sugar. Cut it into 8 wedges and place the wedges on an ungreased baking sheet.

Bake until the scone tops are light brown, 12 to 15 minutes. Cool on a wire rack for at least 10 minutes. Serve warm or at room temperature.

Baking Music: Boogie Shoes by KC & The Sunshine Band

Treat Week – Olive Oil and Sea Salt Cookies

SONY DSC

In my office, everyone is assigned a treat week and this is mine! After a very intense conversation about what I should bring (these are serious topics in my office) it was decided that I need to make something seasonally-appropriate. Something with raspberries. Maybe a crumble. DEFINITELY don’t bring the treat in on Fridays (from the coworker who doesn’t work Fridays). I didn’t mean to, but I ignored them. Except the Friday thing. That was no joke.

SONY DSC

I got to use my mixer again!

Anyway, I’ve been on Pinterest a lot this week and I found this yummy and easy cookie recipe from Butter Lust Blog. The thing is, when it’s your treat week, you’re baking after you get home late. So easy is better. Also, I’m a commuter without a car, so carry-ability is a serious consideration. Ideas that require 9×13 in pans tend to get chucked.

And I got to use my mixer again!!! We are about three days from giving the mixer counter space all to itself. It tends to overwhelm the less beautiful items around it. (Get out of the way kitchen knives!)

SONY DSC

These cookies were so good. I was a little scared to use too much sea salt and I regret that. So, when you make them don’t be scared! The sea salt bites are the best bites.

Ingredients

1/2 cup olive oil
1 cup sugar
2 eggs
3/4 cup flour
3/4 cup cocoa powder
1/2 tsp sea salt, plus more for sprinkling
1 tsp baking soda
1 tbsp hot water
1 tsp vanilla
1 1/2 cups semi-sweet chocolate chips

Instructions

Preheat oven to 350 degrees and line baking sheets with parchment paper.

In the bowl of a stand mixer, add the olive oil and sugar and mix until well combined. Add the eggs, one at a time, mixing well between each one. Add the cocoa powder, flour, and salt and beat until a dough forms – it should be the consistency of a thick brownie batter.

In a small bowl, dissolve the baking soda into the hot water. Add dissolved baking soda and vanilla and beat until well combined. Stir in the chocolate chips with a spatula.

Refrigerate the batter for at least 30 minutes, up to overnight.

Use a cookie scoop to scoop out heaping tablespoons onto your prepared baking sheets and sprinkle with sea salt.

Bake for 10 minutes, or until edges are set.

Let cool completely on the baking sheets then transfer to a wire rack to cool.

Eat ’em!

Cooking Music: In The Heights soundtrack (keeps me awake when I bake at night)

Miss You

Hi friends,

I miss you. I miss writing in this blog. I’ve clearly been distracted and it’s time to get back on track. I was TOTALLY going to do that this weekend. I’ve made a mushroom soup and a mint, blackberry cocktail. I’ve made more poached eggs and some “healthy” granola, but … apparently I downloaded all my pictures at work. Fail. So, here is a picture of Jill’s cat. Image

And I had to bribe him to get that.

That’s all I got for today. I plan to get back on track. Cause I miss this. Stay warm (cause if you’re in Chicago, it’s not).

Kicking Iron Man Butt!

SONY DSC


Last fall I went to Tempe, Arizona with several others to watch our friend, Shaina, participate in her second IronMan. IMAZ 2013 was so much fun, and I can’t believe I didn’t write about it sooner. Shaina rocked her swim, bike and run finishing in 13 hours 18 minutes and 41 seconds. And the girl had the gall to look good at every point we were able to see her. Not cool, girl. At least pretend to struggle through a 2.4 mile swim, a 112 mile bike ride and a MARATHON (26. 2 miles) which adds up to a total of 140.6 miles!

1462963_947045002265_653969756_n

And these participants and finishers were amazing. At exactly midnight, the course shuts down in such a crazy way. If you look away from the countdown clock to check to see who’s coming around the bend next, by the time you look back everything has been taken down and all that is left is the bleachers. But in the minutes before the end, all the spectators and participants who finished earlier (sometimes several hours earlier) and standing along the course screaming and cheering. It’s a sight worth seeing.

Shaina rocked her time from the year before. She beat her old time by about three hours. It was so amazing.

Of course, we just had to make a cake to celebrate!

SONY DSC

This is not just any cake. This is Spoon Fork Bacon‘s Spicy Chocolate Stout Cake with Simple Peanut Butter Buttercream.

SONY DSC

For this cake I had to learn to make Mexican chocolate. I’m sure there is an easier way to make (buy) this, but I didn’t think of it. I melted four ounces of semisweet chocolate, added some almond extract and cinnamon, froze it and then grated it for the cake. It took forever (and the chocolate kept melting in my hands), but it tasted great!

SONY DSC

When I cut off the top of the cake to even it out is when I realized, unfortunately, that my oven was broken.

Cake 4

But this guy definitely got eaten anyway. No complaints.

Spicy Chocolate Stout Cake with Peanut Butter Buttercream

by SPOON FORK BACON

WW Points: I can’t bear to calculate. It’s a cake, just have a little bit.

For the cake:

2 cups cake flour (all purpose is fine)
1/2 cup unsweetened cocoa powder
4 ounces Mexican chocolate, finely ground (plus more for garnish)
3/4 teaspoons baking soda
1/2 teaspoon salt
1/4 teaspoon ground cinnamon
1/2 cup unsalted butter
1 1/2 cup superfine sugar (granulated is fine)
1/2 cup light brown sugar
2 ounces bittersweet chocolate, melted
2 large eggs
1 cup milk
12 ounces chocolate stout (Guinness is fine)

For the Mexican chocolate:

4 oz semisweet chocolate
2 tsp ground cinnamon
4 drops almond extract

For the frosting:

½ cup unsalted butter, softened
3/4 cup creamy peanut butter
1 3/4 cup powdered sugar
2 tablespoons heavy cream
1/2 teaspoon vanilla extract

Directions:

1. Preheat oven to 350˚F.
2. In a mixing bowl, whisk together flour, cocoa powder, baking soda, salt, and cinnamon. Set aside.
3. In a stand mixer fitted with a paddle attachment or with a hand mixer cream together butter and sugars. Add melted chocolate and continue to cream together.
4. Add eggs one at a time, scraping down the sides of the bowl after each addition. Add milk and mix until just combined.
5. Add flour mixture and stout to butter mixture, 1/3 at a time alternating, beginning with the flour mixture.
6. Scrape down sides of the bowl and mix until everything is well incorporated and fold in ground Mexican chocolate. Pour mixture into a prepared 9×13 pan and bake for 35 to 40 minutes or until a toothpick comes out clean when inserted into the center of the cake.
7. Allow cake to cool completely before frosting, cutting and serving.
8. For frosting: Place butter, and peanut butter in a mixing bowl and beat together with a hand mixer. Add powdered sugar, 1 cup at a time, until fully incorporated. Stir in cream and vanilla until frosting is smooth and creamy.
9. To assemble: Spread frosting over surface of the cooled sheet cake and top with a sprinkle of grated Mexican Chocolate. Serve.

Baking Music: I can’t remember, but I was listening to Dinah Washington as I wrote this. Does that count? A little?

1477782_10154008202810355_1630571228_n

This may be a tad belated, but CONGRATS FRIEND!

Pistachio Macarons

SONY DSCThis little green container has been staring me in the face for several weeks. Silently judging me for not adhering to my (secret) New Years goal of trying to post more timely content. (Just in case you don’t want to read about Christmas cookies three weeks after Christmas.)

This small green jar inspired me to make pistachio macarons for St. Patrick’s Day and then sat there in judgement when I didn’t do it quickly enough. Who does it think it is? Sigh.

I bought this crema pistacchi at the new Eataly downtown. I love the Eataly in New York, and treat it as a can’t-miss tourist destination every time I visit. So, when I heard about the one that was being built in Chicago, I was thrilled (involving all the chills that word implies), and it didn’t disappoint. I was very excited to walk away with this fun pistachio cream. Or is it créme? (P.S. I just figured out why you italicize foreign words! It’s so people don’t assume you’re trying to make up new words, or that you can’t spell, both of which are very true for me. Tangent over.)

SONY DSC

Macarons have a pretty rotten reputation for being hard to make, so I was surprised at how easily these came together. I read that you should age the egg whites … although how long they should be aged was not specific, so I separated the eggs in the morning and let them sit for a few hours. They whipped up quite nicely.

SONY DSC

Macarons seem to be typically made with almond flour or almond meal, which I could not find, but I read that the importance of almonds is that nuts don’t absorb the egg whites as easily as regular flour, so I used ground walnuts. They definitely tasted walnutty, but it worked.

SONY DSC

I used a pastry bag to pipe out the meringue-like concoction onto parchment paper, and let them sit about an hour. Heads up, they spread pretty thin. I pipped out way to much and made some pretty large cookies.  

SONY DSC

Assemble! And, ta-da! No, wait. I didn’t realize how wonky the cookie on the right looked until just now. Makes me love it more.

SONY DSC

Pistachio Macarons
Prep Time: 1 hr 15 min; Bake Time: 17 minutes

Ingredients for Macarons:
90 grams of egg whites (about three eggs), aged
2 tbsp granulated sugar
110 grams of ground walnuts (about 1 cup)
200 grams of powdered sugar (about 1 1/2 cups)

Ingredients for Filling:
Jar of Crema Pistacchi
Powdered Sugar
Milk

Directions:

Preheat oven to 275°. Line baking sheets with parchment paper.

Whip the egg whites until soft peaks form. Then, continuing to whip the egg whites, gradually add 2 tbsp granulated sugar. 

In a separate bowl, mix the ground nuts and powdered sugar. Fold the whipped egg whites into the nut/powdered sugar mixture. *If you want to color your macarons, add a couple of drops of food coloring about half way between adding the egg whites.

Put the mixture into a pastry bag with a large pastry tip. (Or, as I used, a Ziplock freezer bag with a hole cut out of the corner.) Pipe mixture onto lined baking sheet and let sit for an hour. This creates a hard shell. Bake for about 17-19 minutes. Let them cool on a wire rack.

Directions for the filling:

This is where I get really specific. The Crema Pistacchi was really liquidy, so I added a little powdered sugar to stiffen it up. But then it was too hard, so I added a little milk to make it more liquidy. That’s right. Go to town :). 

This macaron recipe was inspired by:

MarthaStewart.com
Taste.com
BraveTart.com

Baking Music: Flogging Molly (Not true, but it should have been! This was St. Patrick’s Day darn it!)